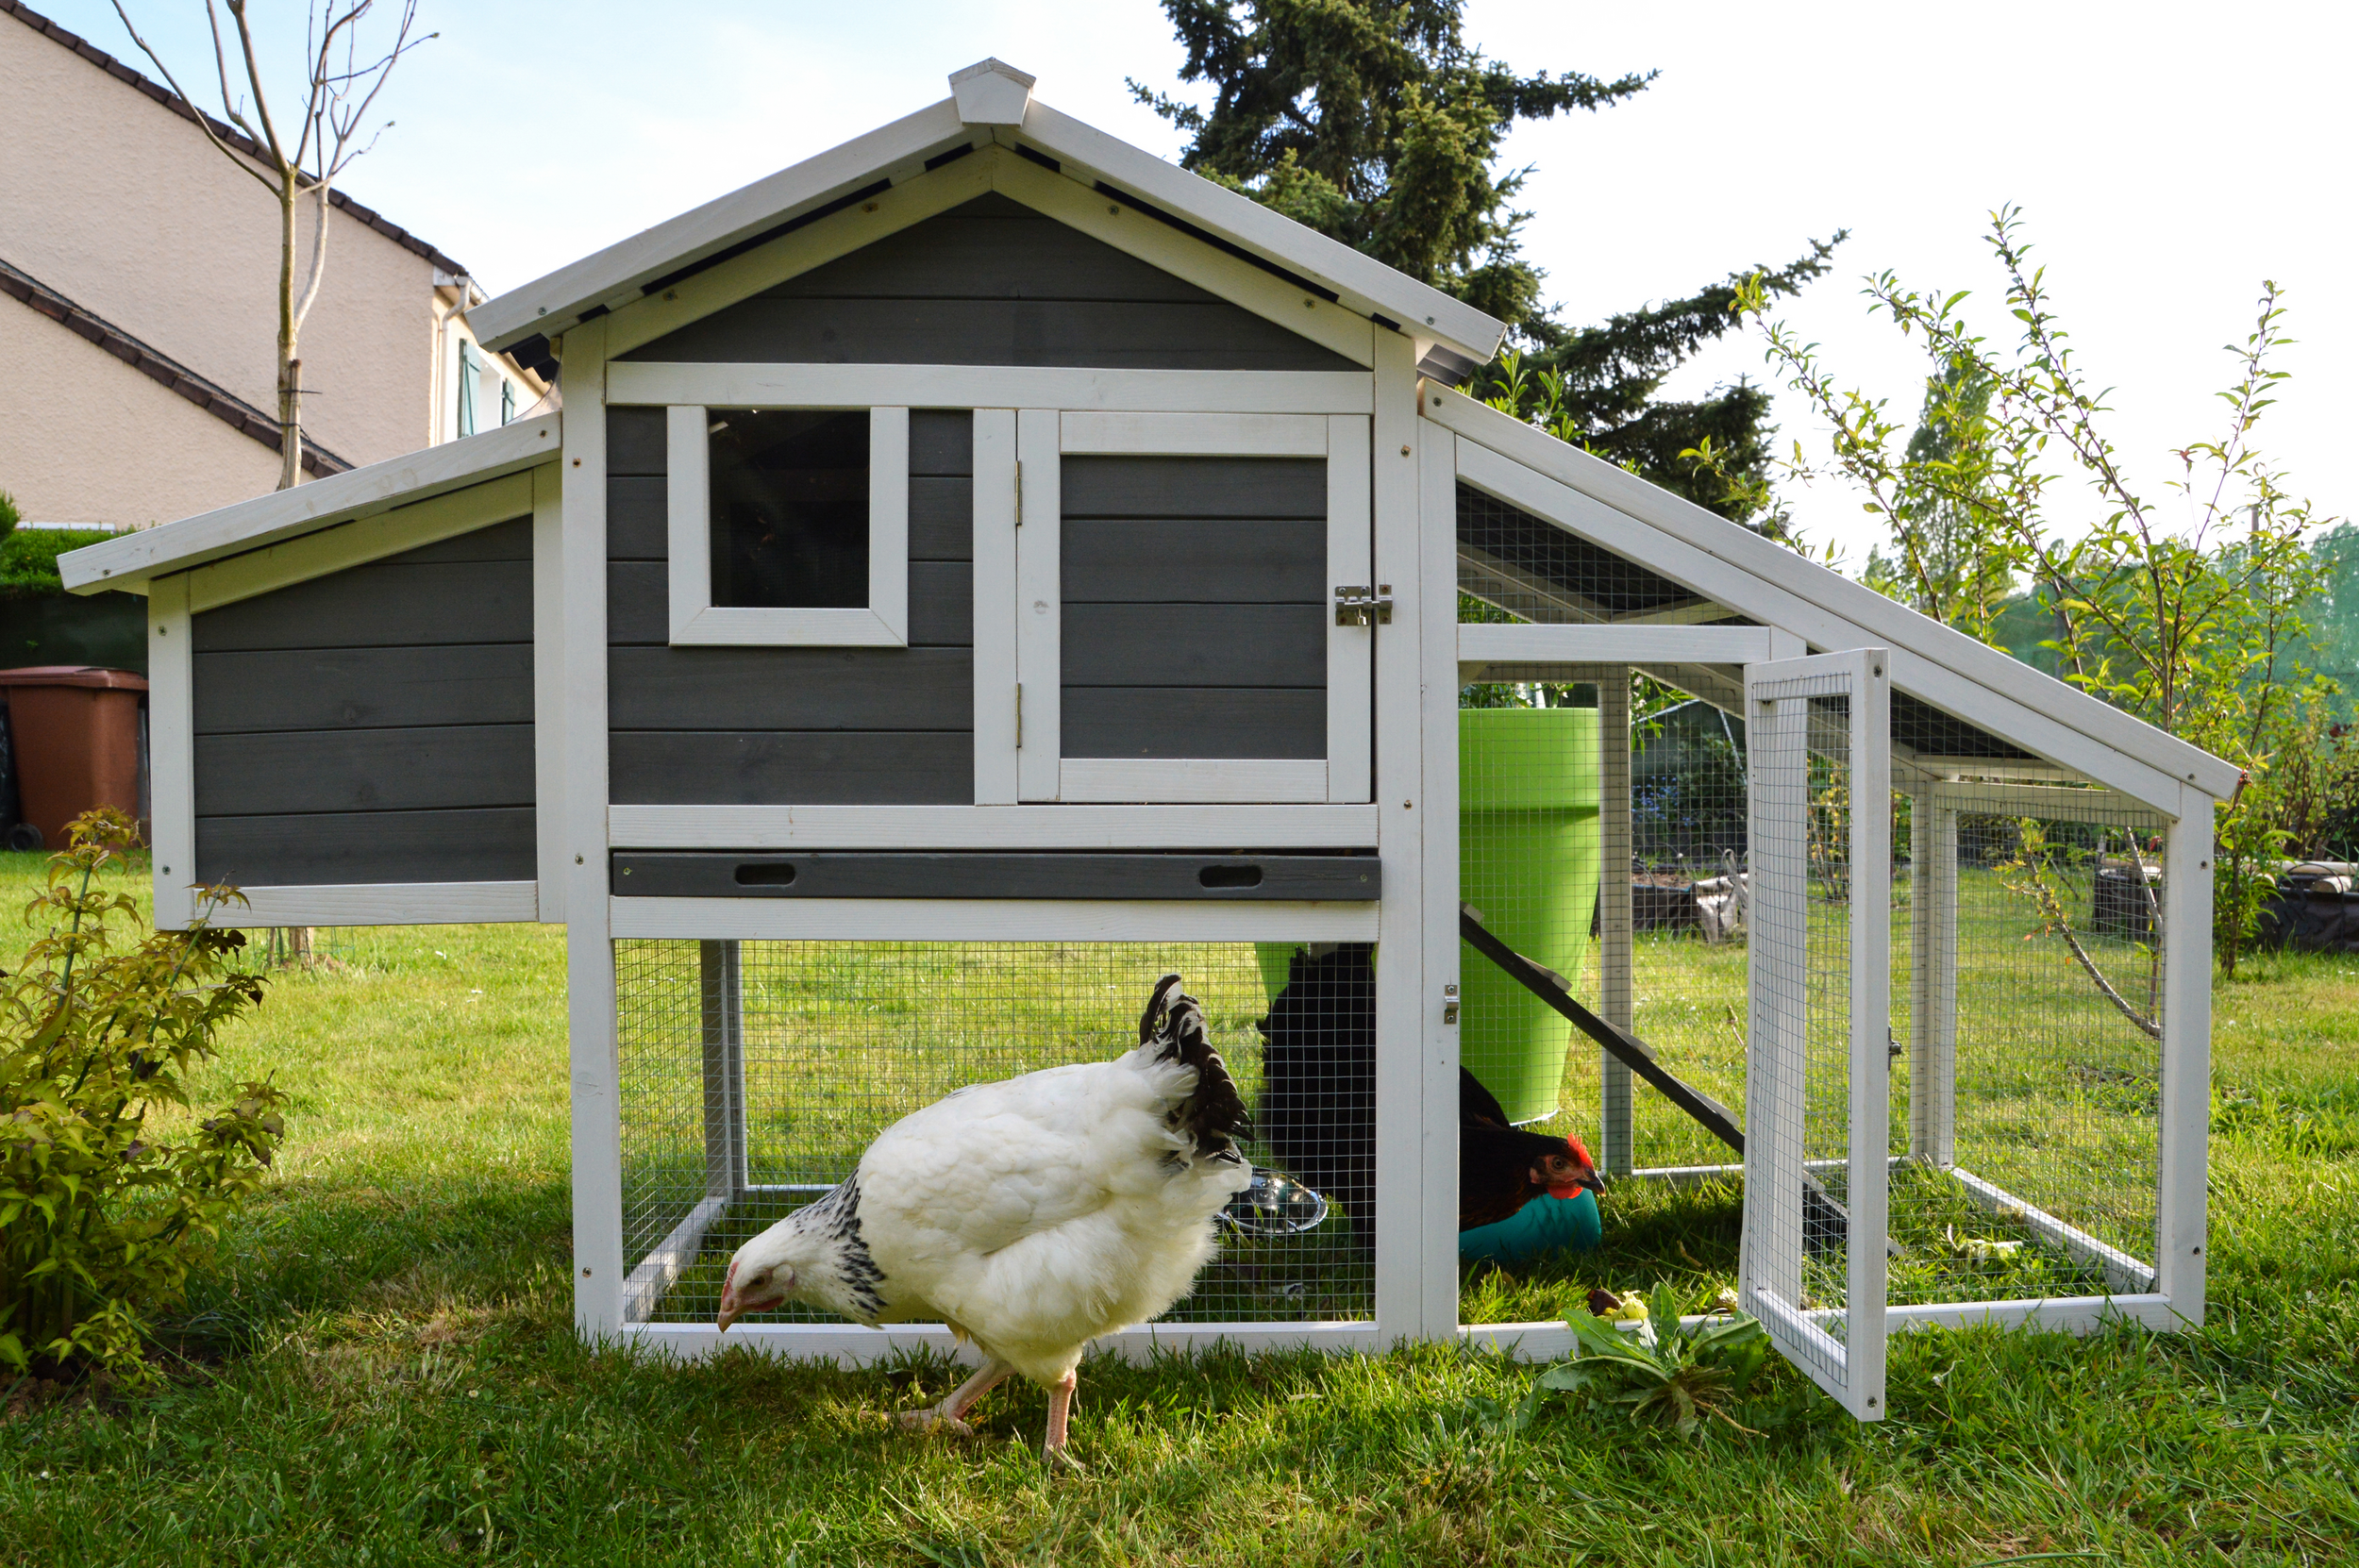
Are you considering getting chickens but worrying about all the work that goes into caring for them? One of the biggest tasks is ensuring they have a safe place to sleep at night. In addition, chickens are susceptible to predators, so a secure coop is essential. And one way to help keep your chickens safe is by installing an automatic chicken coop door. This blog post will show you how to install an automatic chicken coop door in just a few easy steps. So if you're thinking about getting chickens, read on!
What is a Chicken Coop Door?

A chicken coop door is a door that automatically opens and closes to let chickens in and out of their coop. This can be helpful if you're not home during the day to let them out or if you want to ensure they're safe at night. There are many different types of automatic chicken coop doors on the market, so you'll need to choose one that's right for your coop.
Why Would You Need an Automatic Chicken Coop Door?
You should install an automatic chicken coop door for many reasons. For example, maybe you're not home during the day to let your chickens out, or you want to ensure they're safe at night. Or, perhaps, you want to make your life a little easier by not having to open and close the door daily. Whatever your reason, an automatic chicken coop door can be a great addition to your coop.
How to Install an Automatic Chicken Coop Door

Installing an automatic chicken coop door is relatively easy and only takes a few simple steps. Here's how to do it:
- Choose the right door for your coop.
When choosing an automatic chicken coop door, you'll want to make sure it's the right size for your coop. You'll also want to choose a door that's easy to install and use. There are many different types of automatic chicken coop doors on the market, so take your time to find the one that's right for you and your coop.
- Follow the manufacturer's instructions.
Once you've chosen your door, it's time to install it. Be sure to follow the manufacturer's instructions carefully, as each door is different. This is the most crucial step, so take your time and ensure everything is done correctly.
- Install the automatic chicken coop door.
Now that you've chosen your door and followed the manufacturer's instructions, it's time to install it. Most doors are easy to install and only require a few simple steps. Once your door is installed, you're ready to start using it!
- Set up the timer and sensor on the automatic chicken coop door.
The timer and sensor on the automatic chicken coop door will open and close the door at the correct times. To set up the timer, consult the manufacturer's instructions. Then, test the door to make sure it's working correctly.
- Test the automatic chicken coop door to ensure it works properly.
Once you've installed your door and set up the timer and sensor, it's time to test it out. First, open and close the door a few times to ensure it works properly. You can also test the timer to see if it's opening and closing the door at the correct times.
- Enjoy Fresh Eggs Every Day!
Now that you've installed your automatic chicken coop door, you can sit back and relax. Your chickens will be safe and secure, and you'll have fresh eggs daily! Enjoy!
Final Thoughts
Installing an automatic chicken coop door is a great way to keep your chickens safe and secure. It's also a great way to reduce your time on daily tasks such as opening and closing the door. Follow these simple instructions to get your automatic chicken coop door up and running in no time! Do you have an automatic chicken coop door? Let us know in the comments below!

